How to use
- Pre-requisite steps: clean your trunk, prepare the surface, so the glue can adhere to the surface.
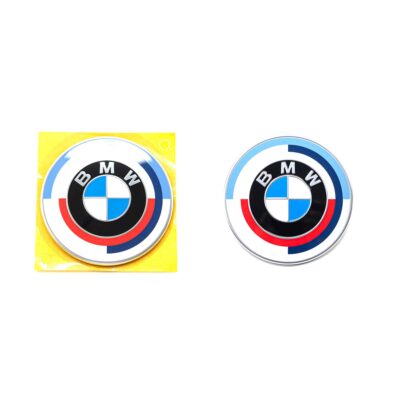
- Take your pre-LCI or LCI rear M2 badge and push it onto the template by aligning the alignment pins on the template with the cut out holes on the badges’ papers.
- Once aligned, remove the backing paper from the glue side of the badge, and carefully align the bottom-right corner of the template with the right edge of the trunk (where the trunk meets the taillight).
- If aligned, push the emblem to the trunk and make sure the glue adheres nicely to the surface.
- Remove the front film from the badge, and remove the template.
- if you are worried about scratching the paint, add some painters tape (or any kind of tape) to the bottom side of the template.
Disclaimer: Templates don’t contain the emblems, they are available separately.